I have a little confession to make.
I am the world’s worst when it comes to actually printing my photos.
I’m the queen of holding them hostage on my computer and though they often get shared via social media or this blog, that’s typically where they stay.
In fact, Brielle still has no baby book, and the backlog of photos of her 3 years here with us makes me cringe each time I go through the folders and folders of images. (and I know it’s only going to get worse…)
Are any of you in the same boat as me?
Yes?
Then I’ve got some good news!
I recently fell in love with album company that’s inspiring me in a BIG way because of their simplicity, ease of use, and beautiful product design. They *might* have even inspired a brand new class I’ll be offering locally later this fall too (hehehe…there’s a teaser for ya).
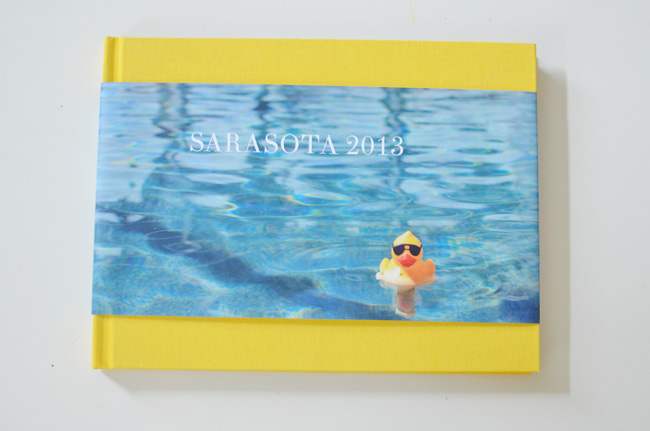
 When I discovered Artifact Uprising a few months ago I was immediately smitten and inspired to actually get an album project D-O-N-E and off of my to-do list. This summer the perfect project finally fell into my lap: a week long trip Brie and I took to Sarasota, FL to spend time with ‘the grandparents’.
I knew a keepsake album of our time together would be something we’d all cherish, and I knew that Artifact Uprising had the tools to help me whittle down and process the thousands of photos taken in a simplified, quick way that would produce gorgeous results.
How did I finally get the photos off of my device and into my life? Here is my 5-step process from start to finish.
1) Upload and sort
I tried to keep up with some of the uploading while on vacation. I set up one main folder for the entire vacation and then each night before bed I’d dump all the photos from the day into a designated sub-folder with the date. If we had a lot of different activities on a particular day, the date sub folders sometime got another sub folder labeled with the activity. (ie: Florida Vacation > June 26 > Aquarium)
2) Choose photos for editing
After getting all the photos on the computer it was time to review the thousands of images and decide which ones would best tell the story of our vacation. As I reviewed the images if I wanted to ‘tag’ one for editing it would get copied and pasted into another folder called ‘Edits’ (ie: Florida Vacation > June 26 > Aquarium > Edits)

3) Decide on an album
After choosing my ‘keepers’ it was time to choose and album! I ultimately decided that the Artifact Uprising hardcover 150 page book would be the best for my project. Fortunately I was not limited to 150 pages. You can add up to 200 pages to their hardcover options and the pricing adjusts accordingly as you add more pages to the book.
4) Edit the images
Once I chose the product it was onto editing. I opened up each ‘Edits’ folder, processed each file, and then re-saved the images once they were complete. Want to know more about editing? Keep on reading to learn more about how you can take part in my Radiate e-course where I’ll teach you!
5) Upload the edited files to Artifact Uprising. Drag, drop, and order!
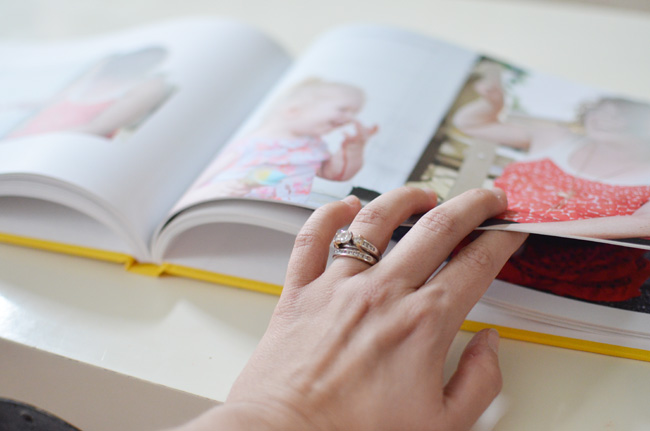
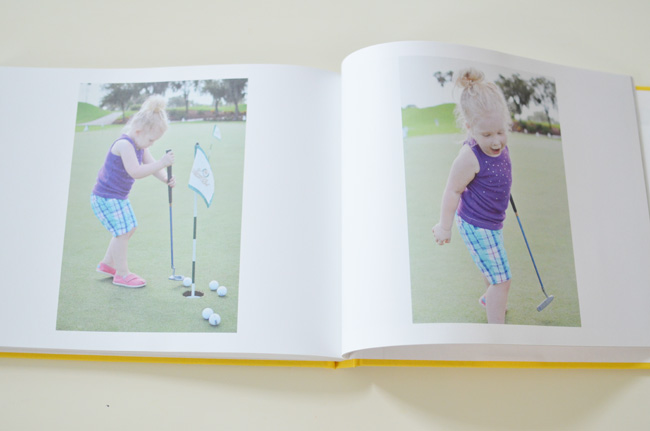
After the edits were complete it was time to open up the Artifact Uprising editor and add the photos. One reason I LOVE their platform is because the layouts are simple, allowing your photos to truly speak for themselves. I chose to only feature one image per page to keep the layout process quick, easy, and simple.

Amazingly I finished this large scale project only one-week after returning home from our trip. I’d say I was able to complete the entire project from sorting, to editing, to album making in about 12-14 hours.
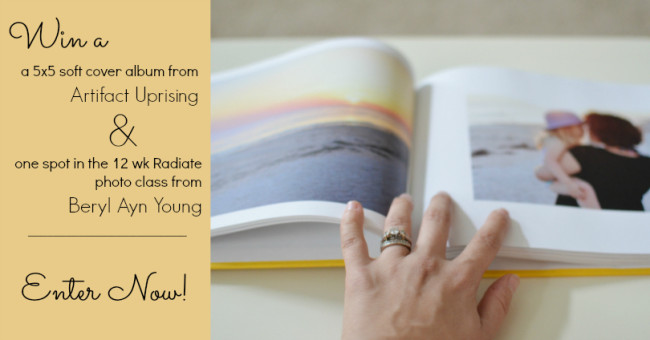
I was so excited about my results that I asked Artifact Uprising if they’d be willing to giveaway one of their awesome albums to one of you, and I’m happy to report that they said YES!
One of their 5×5 softcover books is up for grabs today.
But to sweeten the deal even more, I’d like to pair their beautiful album with a spot in my upcoming Radiate class where I’ll teach you photo editing in a super easy and simplified way.
To enter, just hop on over to my Facebook page now by clicking the image below.

