Monday Momtographer: Our best phone photo tips is brought to you by Momtography & Teentography Community Director, Jen Doolittle
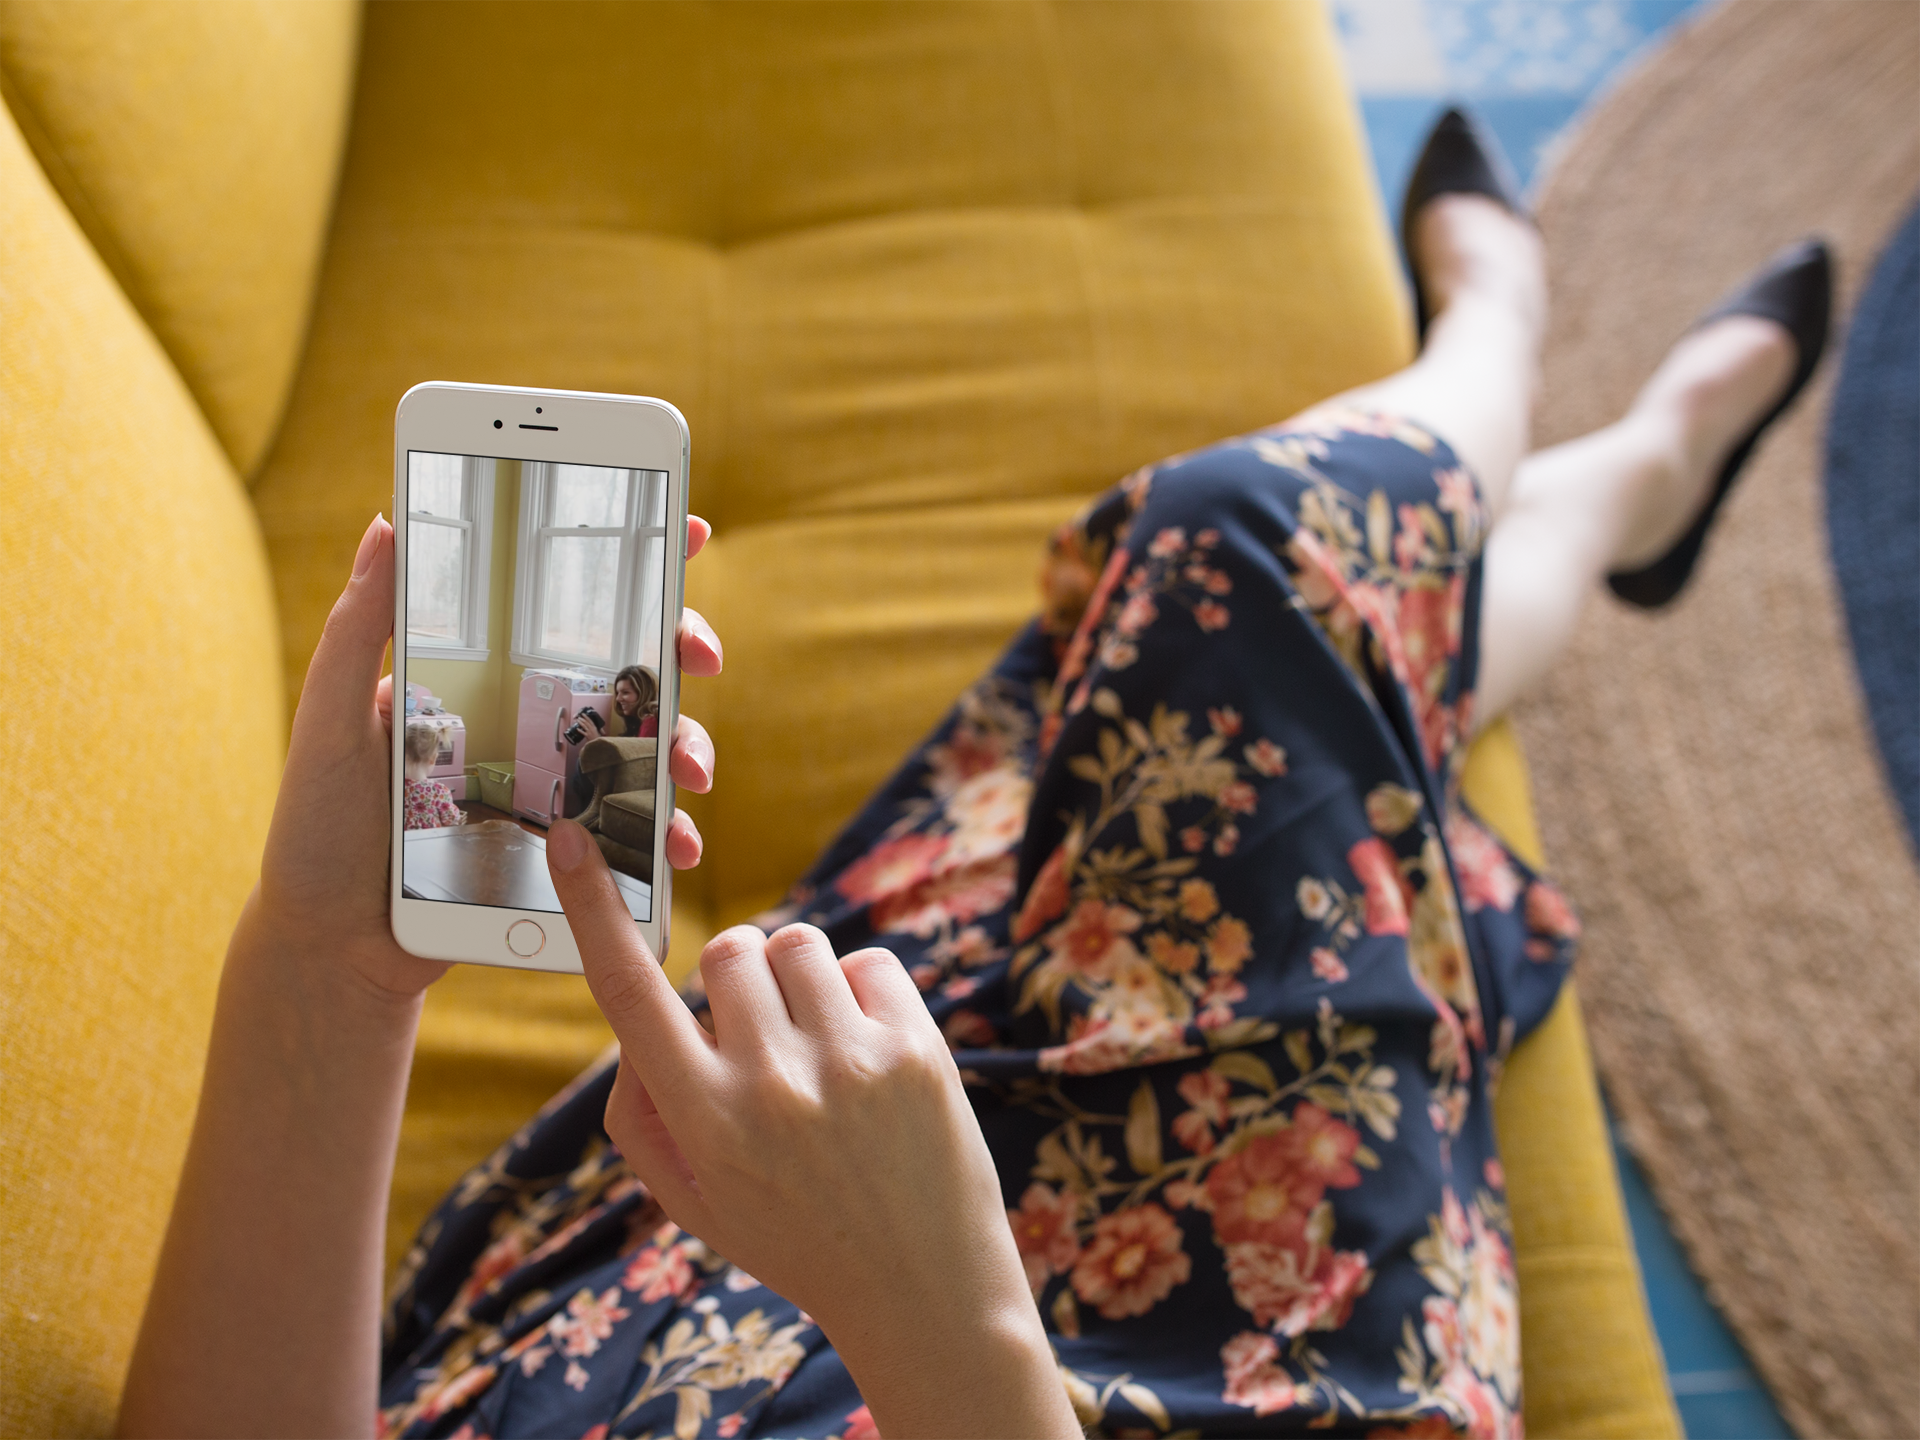
The beauty of using your phone to take pictures is that it’s always nearby and easy to practice with. I like to encourage people to notice the details – what objects are significant right now, how does the light in your house change over the course of the day, what little things do you think you’ll want to remember? Noticing and photographing those little details allows you to both preserve memories and practice taking photos without the stress of “What if I miss moment?!”
So the next time you see something that makes you smile – photograph it! Don’t be afraid to try new things, whether you move around, try a different angle, photograph during a different time of day….notice what happens to your picture when you do. Take note of what you like so that you can do it again next time.
I asked our licensed Momtography® teachers for some tips and tricks to taking better phone photos and they certainly delivered! Learning how they photograph their family memories with their phones is sure to inspire you to take beautiful photos of your own!
Monday Momtographer: Our Best Phone Photo Tips

~Carrie Scheetz, Columbus OH Momtography Teacher

We were doing our senior pictures. It was getting hot so I suggested he roll his sleeves. This is him, natural and an expression I see often. I loved it!
I have two tips:
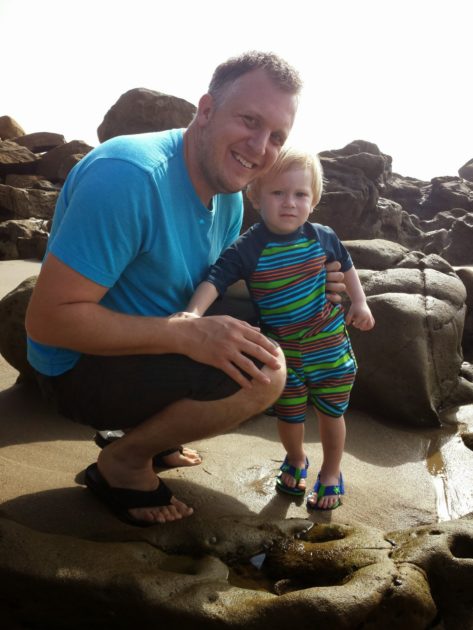
1) get in the photo. Listen, it’s not gonna matter how great it comes out, but your phone has a selfie option for a reason, who doesn’t want a photo of themselves when they are little with their mom? Even better if it was a great memory like a school civil war reenactment.
2) Use more than one phone. Ever want an image and it’s dark but he flash looks awful? Use someone else’s flashlight on their phone to light your subject so you can see while photographing.