To help learn how to use light in your photos, I’m bringing you a new blog series lovingly titled ‘Find Your Light’. This is the second post in a 3 part blog adventure where we’ll be cultivating and capturing the holidays (and beyond!) with what I think is the #1 tool you need to photograph effectively and beautifully. LIGHT. Last week was all about low light and ways to make your Christmas tree sparkle and glow. This week the light lessons continue with a basic overview of how to use use different types of light most effectively in your photos.
Light.
It’s what keeps me afloat and brings me to center.
When we lost her, our much loved first daughter Bella, photography opened up my world and just as I had to learn the proper way to let light into my lens, I had to learn to allow light back into my heart too.
It’s no wonder photography has been guiding me since that life altering event and ultimately led me to guide other moms too.
Sometimes it’s overwhelming the power light has over our life and images; and how intertwined light is in both our daily lives and photographic journeys.
I’ve come to fully embrace the phrase “Let The Light In” and use it when I’m feeling low, or overwhelmed, or attempting to snap the perfect image and missing the mark.
How To Use Light In Your Photos
I feel grounded when I watch an amazing sunrise, I feel accomplished when I capture a burst of sun flare in the background of a photos, and I feel energized when there is light surrounding me.
Wintertime can be tough when it comes to letting in light. Colder shorter days are challenging to our moods and to our motivation as Momtographers.
This overview of using light in photography I hope will inspire you to “Let The Light In” even during the tough times, and find the right light for making amazing photographs as we race toward the start of a new year.
SUNLIGHT (NATURAL LIGHT)
Shooting images when there is direct sunlight can be quite challenging for new Momtographers. Even though the most important thing in photography is light, simply stepping out into the sun isn’t enough. You have to know how to mold and shape light just right to get it to work for you. Here are some of the scenarios you may encounter and how you can make the most of them.
 OUTSIDE
If you try to go take pictures in the middle of a bright sunny day you may immediately see why this is a bad idea! Your kiddos will be squinting, trying hard to put on a smile, and may have hard patches of light and shadows on their face which I guarantee will not be a flattering look. I suggest turning them away from the sun so they are in a backlit situation where YOU are facing the sun.
Photo credit: past student Marlene C.
—
 INSIDE
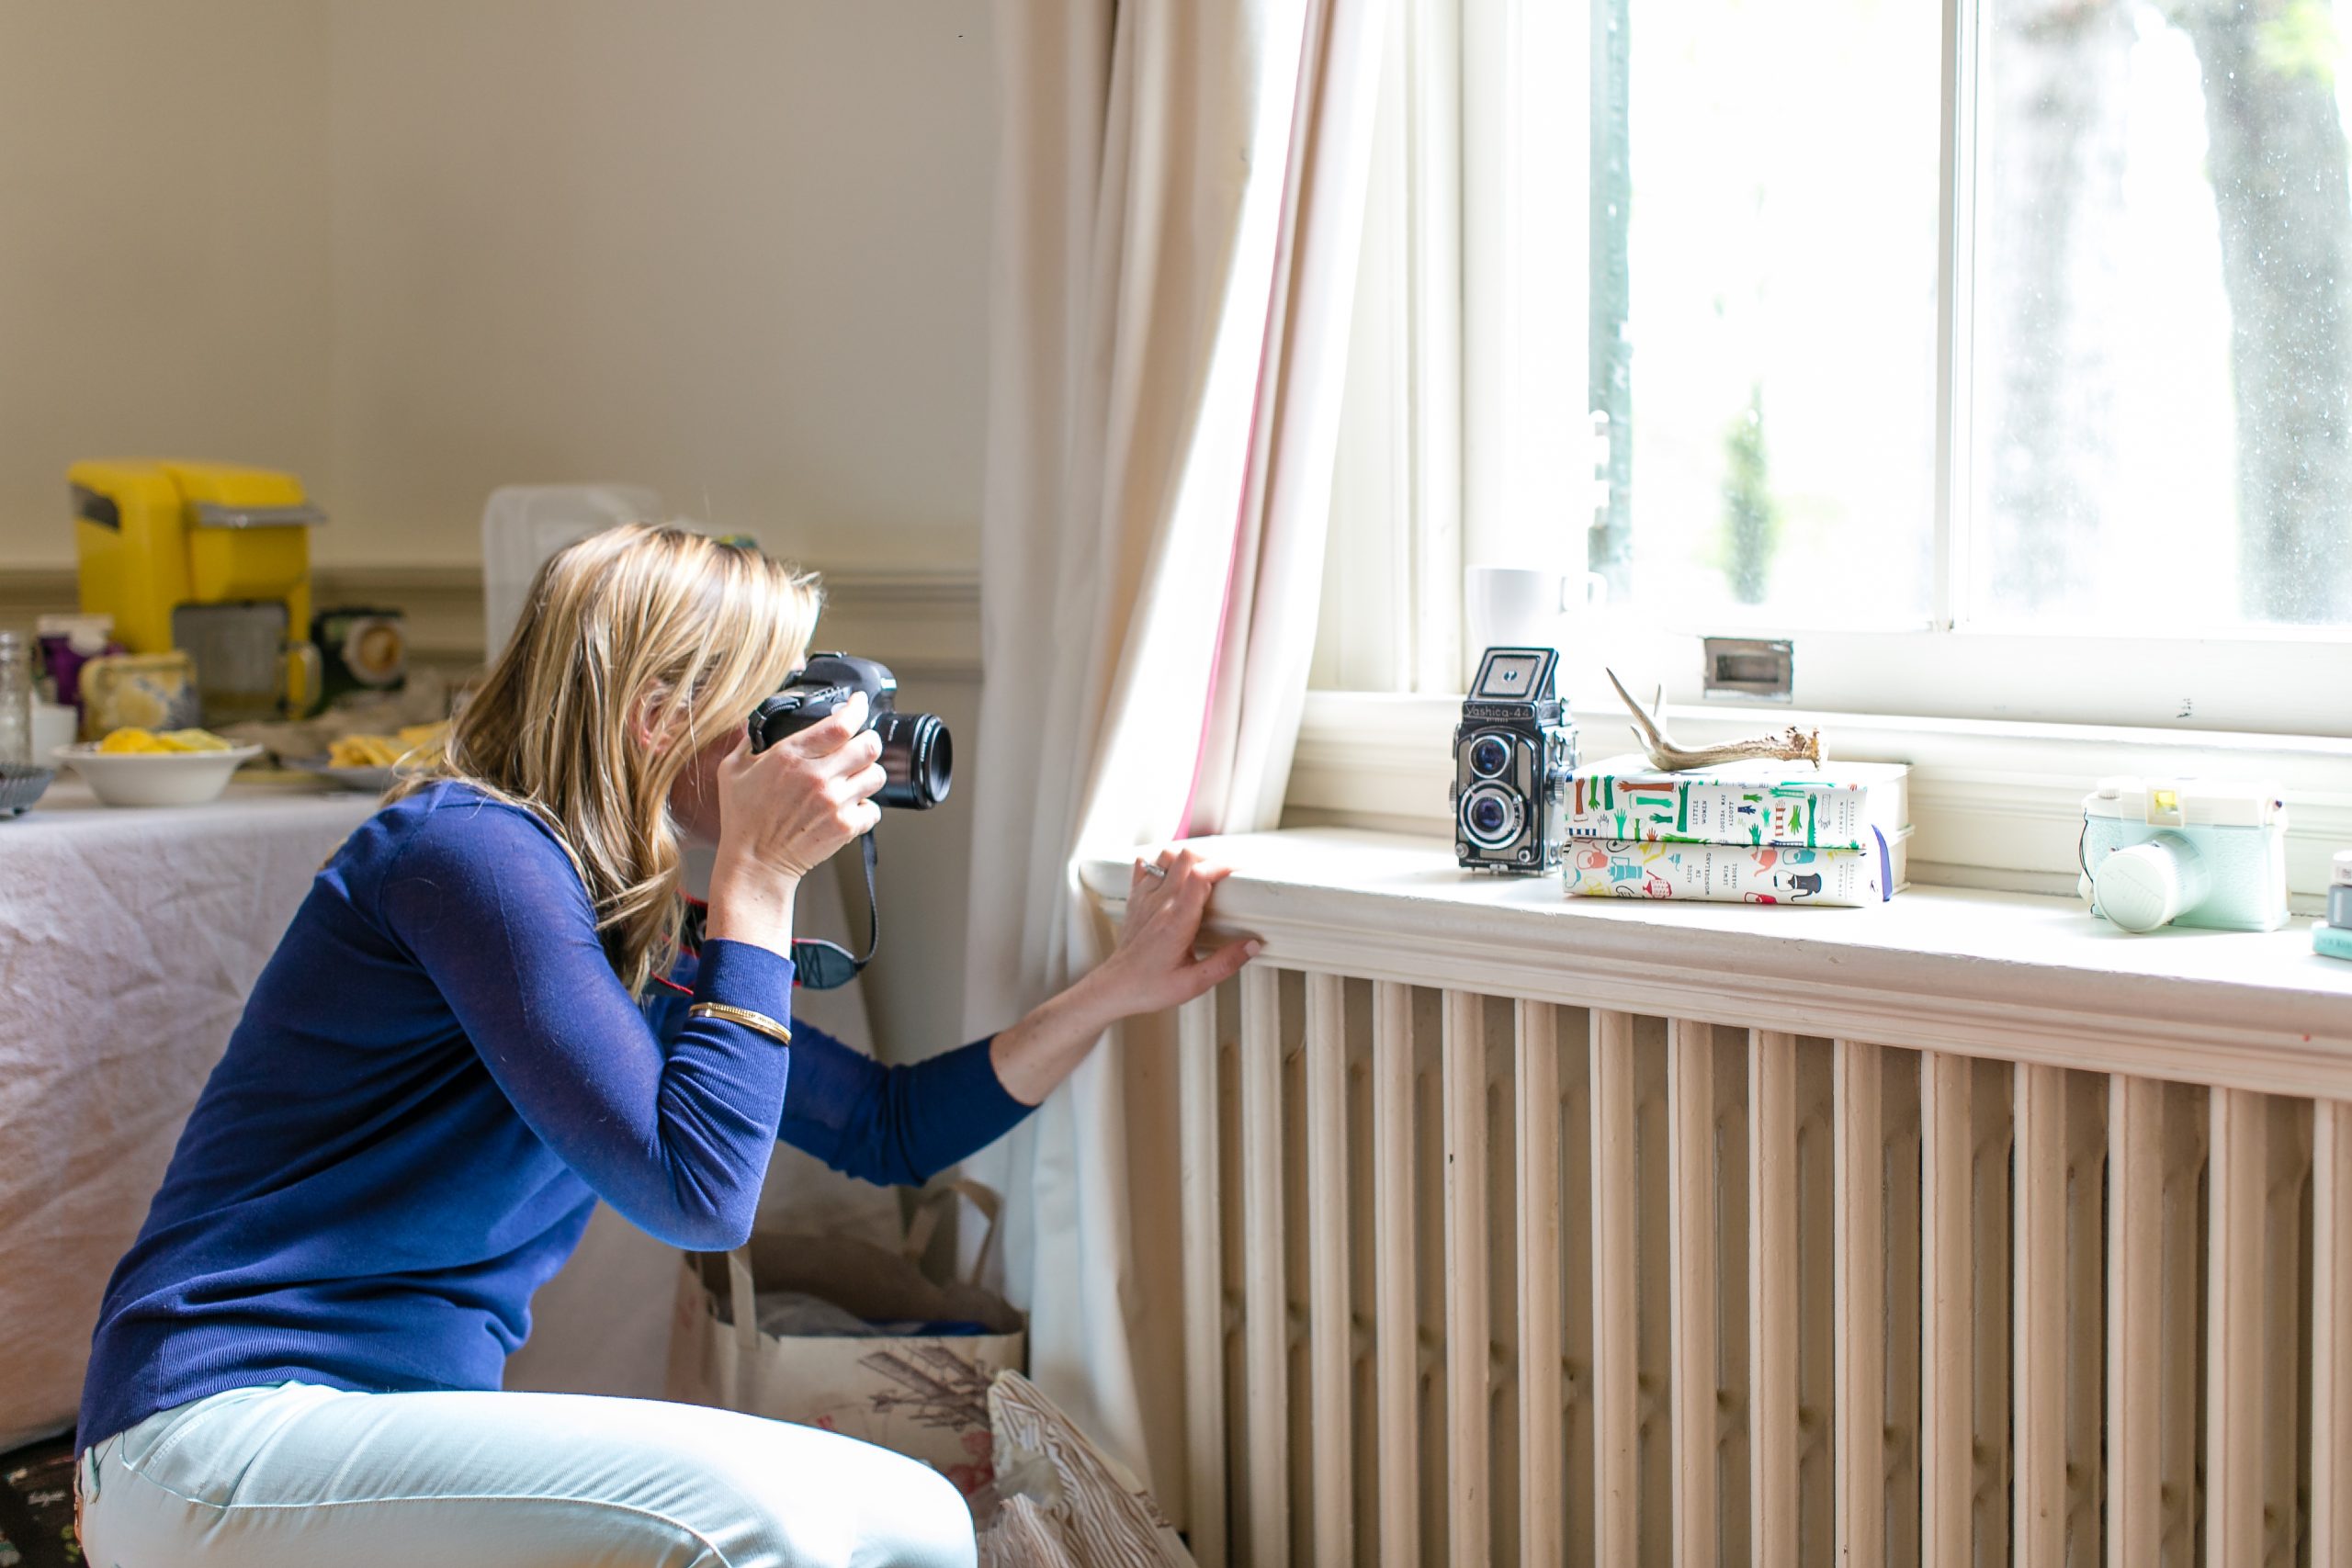
When indoors we want to let in as much light as possible. Allowing your kiddos to turn towards a window, have them look outside, and face the sun is the perfect way to let light in and achieve those coveted sparkly catch lights in the eyes. This may require you to stand next to or in front of the window in order to capture the moment.
Photo credit: past student Meg H.
—
INCANDESCENT/FLUORESCENT LAMP LIGHT

The lights and your home can present a challenge due the yellow/orange tint they cast on photos. The low light also makes these indoor photos more prone to a slow shutter speed and blur.
Unfortunately the only way to fully fix the issue of color cast is with flash equipment. If you are like me and don’t want the hassle of lugging or learning more equipment you may have to learn to embrace and love the warm indoor tones or try editing these photos in black and white to eliminate the less desirable color.
To fix issues with blur, try to up your shutter speed by choosing a high ISO and/or lower/widen your aperture. You may also want to consider investing in a 35mm or 50mm f 1.8 lens because of their ability to open wide to those low low aperture values! (do words like ISO or aperture make your head spin? Check out this post where I break down technical photography for you)
SHADE

There are many different ways to find and use shade for photos. Covered porches or awnings can create shade, as can trees and buildings. The benefit of shade is that it provides and even canvas of light. But not all shady locations are created equal and you’ll still need sunlight close by to achieve the best results possible.
 OPEN SHADE
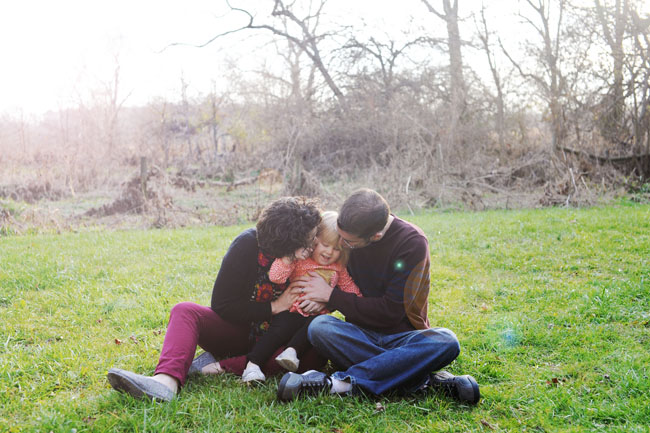
This is hands down the best way to use light. With open shade, light is available all around you but it is not direct because your subject is standing in shade. Make sure your subject is turned toward the light source and look for those gorgeous catchlights in their eyes before you shoot. It’s like using window light only without the window
Photo credit: past student Blaire R.
—
 DEEP SHADE
When you are deep in the shade (while on a hike deep in the woods for example), the lack of light may make your photos a bit dull. If there is a more open area available (closer to the light) you’ll want to move there to shoot instead.
Photo credit: past student Kerri G.
—
 CLOUDS
Just as cloudy days can make us feel lifeless and make us want to crawl back in bed, photos taken on cloudy days can appear dull and lifeless too. The good news is the light on cloudy days is fairly even. Try using a slightly higher ISO to give the light coming into your camera on a cloudy day a boost. That boost of light will give your photos a brighter feel.
Photo credit: past student Amy M.
—